Automated Code Patches
Introduction
Scrutinizer offers automated generation of patches for certain issues. These are currently:
For PHP:
- common doc comment errors like wrong types or missing type annotations for
@paramand@returncomments. It will both check existing doc comments and try to infer missing comments using our powerful type inference engine. - use statement errors, specifically the removal of unused use statements and the reordering of use statements
It will also add all patches created by our coding style fixer.
All checks which supply automated patches are prefixed with [Automated Patch] in the checks editor.
For Ruby:
- all auto-corrections supplied by Rubocop for which cops have been configured. Rubocop provides a list of all cops that can generate auto-corrections here.
You can download the patches or Scrutinizer can send you a pull-request if your repository is hosted on GitHub or Bitbucket.
Viewing your patches
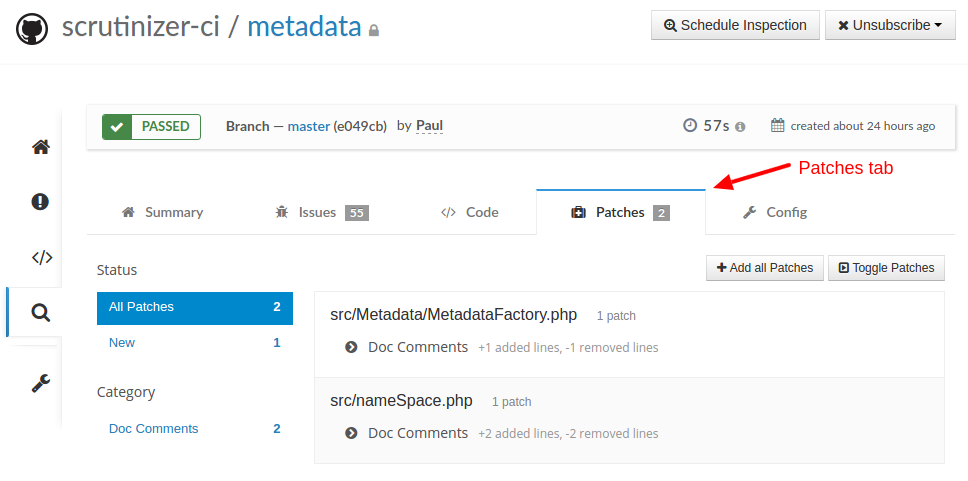
To see the patches, choose an inspection from the list of inspections. All available and new patches will be shown in the Patches tab.
Reviewing your patches
Scrutinizer offers you two views for patches. One that shows only the patches which were newly created for this inspection and another which shows all patches for the entire project. You can always toggle between these views.
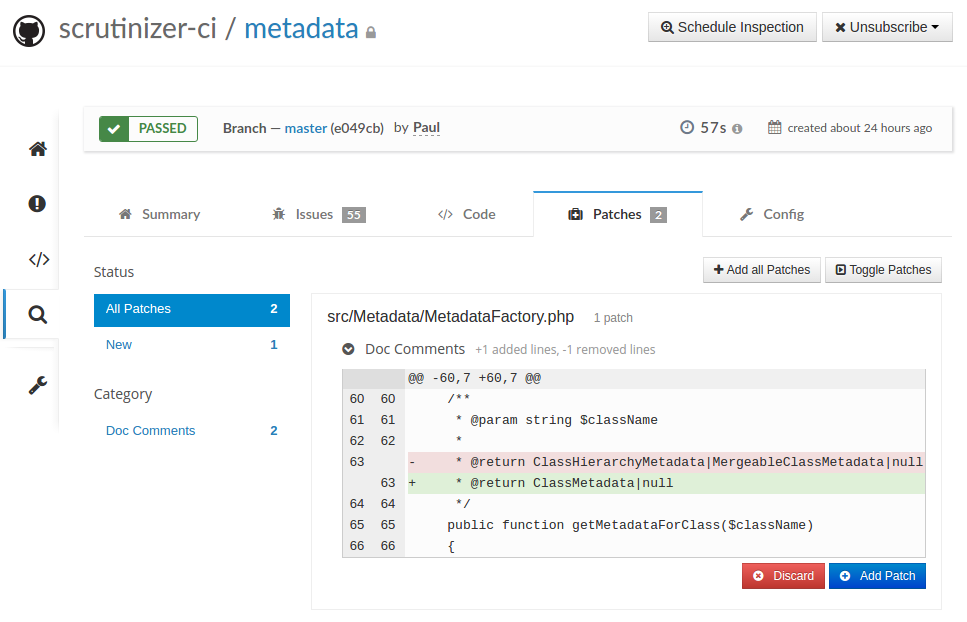
From the list of patches, you can chose to either apply all patches, or manually review the patches. When you manually review the list of patches, you can decide which patches to add and which ones to discard.
Discarding patches
Discarded patches will not be shown again in future inspections. You can always undo the discard if you want to. Just toggle the patch again and click the word undo next to the discarded block. For more complex patches, there may be several code blocks. You can choose which blocks to discard and which to keep.
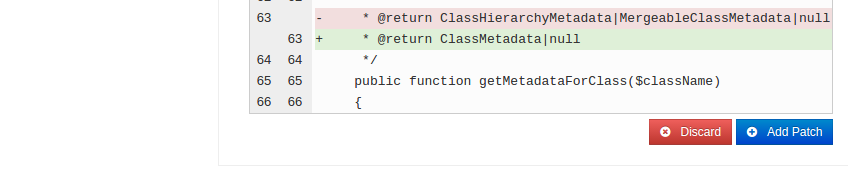
Adding patches
The Add Patch button adds the patch to the list of patches that will be part of the patch file or pull request. You will see it appear in the Selected Patches popup in the top right corner of the browser. Once you have reviewed all your patches and added those you wish to apply, you can do so from this popup.
Adding all patches
The Add all Patches button will add all patches that have not been discarded. It looks at the current filter settings to decide what to add, so you can choose to add only new patches or only those of a particular category.
Applying the patches
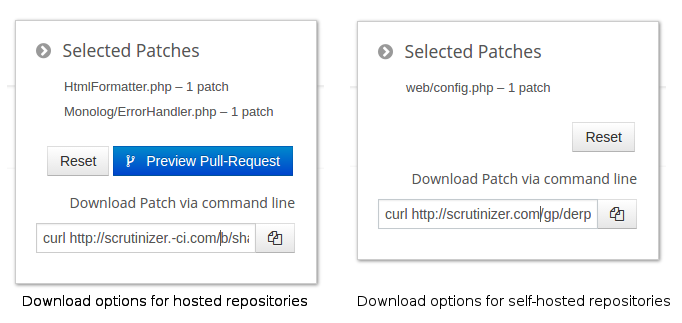
You can download the selected patches or have Scrutinizer send a pull-request to your repository.
Making a pull request
If your repository is hosted on either GitHub or BitBucket, Scrutinizer can create a pull request for all selected patches. Simply click the Preview Pull Request button.
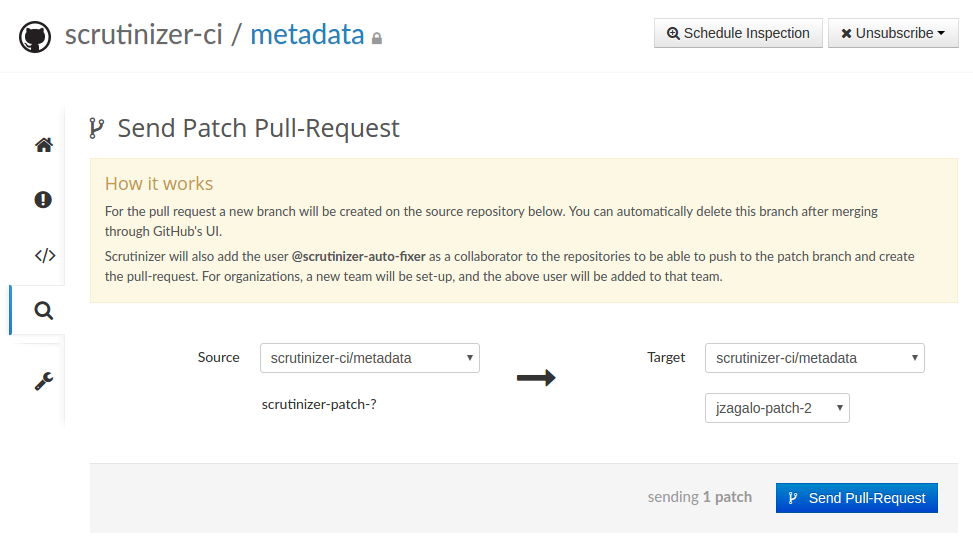
Once you have sent the pull request, it will appear in your hosting service's interface for you to merge.
Downloading patches
If you prefer to merge the patches locally, you can also download the patch file and apply it with git. In the text window you will see a command to download the patch and apply it that should work with any reasonably unixy system like Linux or MacOs X. You can either copy the line or use the little copy button right next to it. (The copy button relies on flash for some browsers.)
The command will look something like this:
curl http://scrutinizer-ci.com/b/shabti001/monolog/indices/599/pull-request.diff | git apply -v --index